




Everything About Professions
Professions in Last War: Survival Game

Introduction
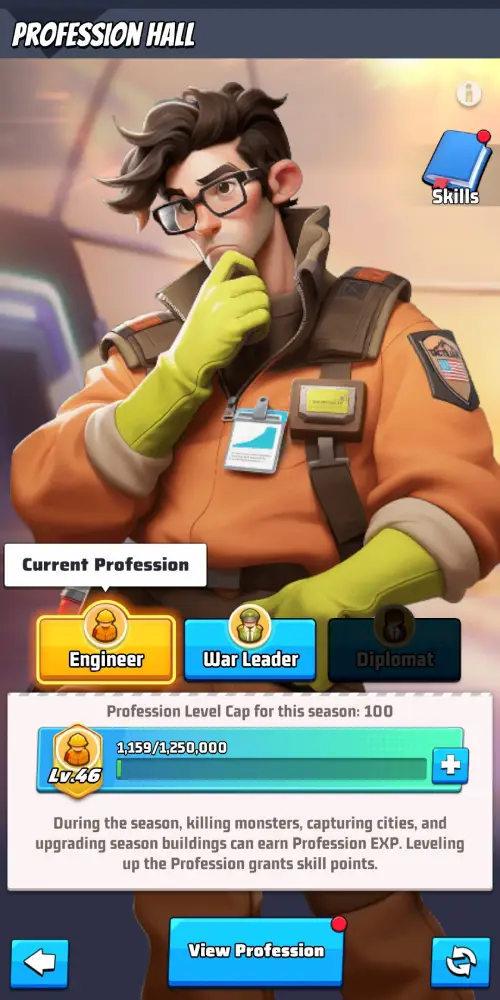
With the start of Season 1, a new building becomes available in the game — the Profession Hall. Here, the player can choose a specialization. Currently, two professions are available:
- Engineer
- War Leader
There is also a slot in the interface for a third profession — Diplomat, however, its skills have not been implemented yet. When information becomes available, we will definitely update the guide.
Professions grant access to unique skills and persist even after the season ends. Therefore, this guide is universal and will remain relevant regardless of the season. Seasonal specifics, including seasonal skills (which are the same for all professions), will be covered in a separate article.

How the Profession System Works
1. Gaining Experience
During the season, you gain profession experience by killing monsters, capturing cities, and upgrading Seasonal Buildings. You can also obtain experience using  Profession EXP Books rewarded from events and Battle Passes.
⚠️ Note: experience can only be earned during an active season.
The most effective way to level up is by upgrading Seasonal Buildings.
2. Leveling Up and Skills
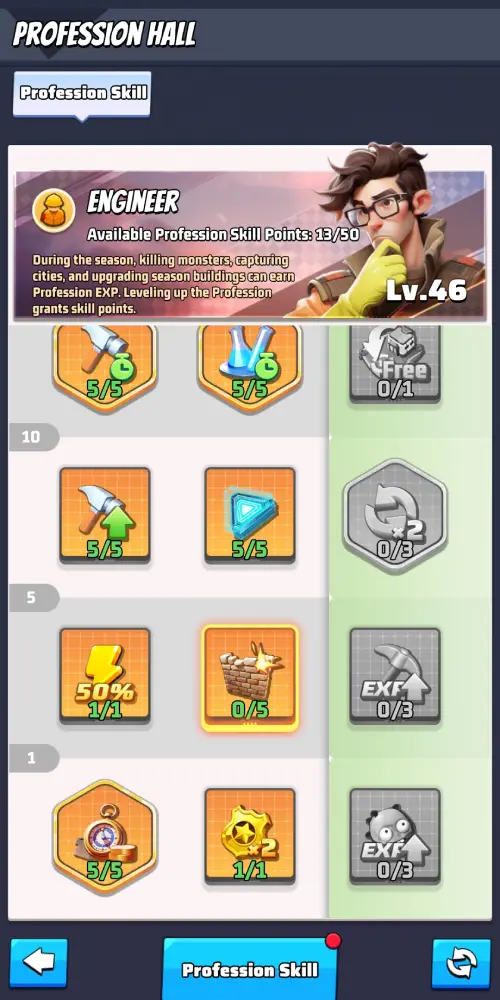
For every profession level, you receive 1 Skill Point. These points can be distributed between active and passive skills.
3. Unlocking Skills
At Level 1, two basic skills and one seasonal skill are available. New skills unlock every 5 levels: at Lv. 5, 10, 15, and so on.
4. Seasonal Skills
Seasonal skills are only active during the current season. After it ends, the points invested in them are refunded — they can be redistributed into the main skill trees.
5. Profession Level Limit
Each season has a maximum level cap:
- Season 1 — up to Lv. 40
- Season 2 — up to Lv. 70
- Season 3 — up to Lv. 100
Once the limit is reached, excess experience does not go towards leveling up but is stored. At the start of the next season, the accumulated experience is sent via in-game mail.
Who to Choose — Engineer or War Leader?
A common question among players is — which profession to choose? It all depends on your playstyle:
- War Leader — suitable for alliance leaders and those who play an important role on the server: actively participating in captures, coordinating battles, and commanding.
- Engineer — a more universal choice recommended for most players. It helps you develop faster, upgrade buildings, increase base efficiency, and catch up with top players.
Important: you can obtain a Profession Change Certificate  in the store and from certain events, so the choice is not final.
Skill System
Skills are divided into two types:
- 🛡️ Passive — works continuously, without player participation.
- ⚡ Active — requires activation and has a cooldown time (CD).
Each skill can be upgraded from Level 1 to 5. Increasing the level reduces the CD or strengthens the effect.
Profession Hall Capabilities
- Study the entire skill tree
- Track available active skills and their cooldowns
Redistributing Skill Points
If you want to change your specialization within the chosen profession, you can use the Profession Skill Reset Book  . It completely resets the tree and allows you to redistribute points again.
There is also a "Skill Points"  item, which adds extra points regardless of the profession level. You can use up to 10 such items per season. All points exceeding the limit are automatically converted into profession experience — 10,000 XP for each extra point.
Skill Point Deficit
Even at the maximum profession level, you will not be able to unlock the entire skill tree. Therefore, it is worth setting priorities. We tentatively divide skills into three categories:
- 🟢 Priority — recommended to upgrade first.
- 🟡 Useful — situational, enhances specific aspects of the game.
- 🔴 Niche — used in rare cases, can be upgraded last.
⚠️ These recommendations are not strict instructions, but a hint. The choice depends on your playstyle and current tasks.
Engineer
Level 1 Skills
💠
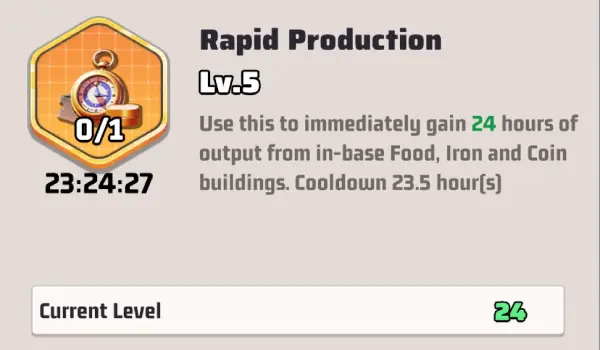
Rapid Production
(🟢 Priority,
⚡ Active Skill,
Max lvl - 5)
Instantly collects 24 hours of resource production. Cooldown: 23.5h. At max level, it provides over 15M Food and Iron, as well as 10M Coin.
💠
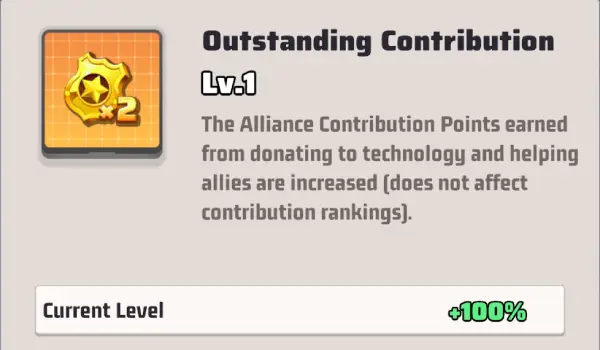
Outstanding Contribution
(🟢 Priority,
🛡️ Passive Effect,
Max lvl - 1)
Increases Alliance Contribution Points earned from donating to alliance technology. This is the main currency used for purchases in the Alliance Store.
Level 5 Skills
💠
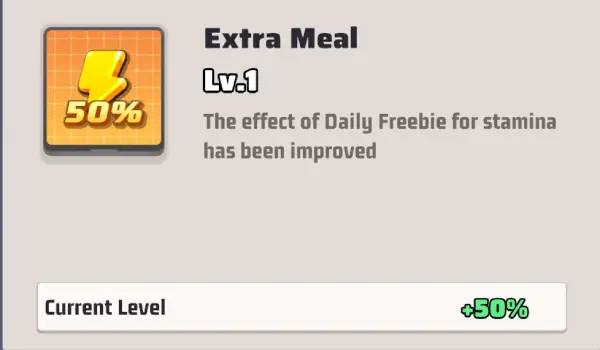
Extra Meal
(🟢 Priority,
🛡️ Passive Effect,
Max lvl - 1)
Increases the effect of the Daily Freebie for stamina by 50%. This allows you to claim 2×75 stamina daily instead of the standard 2×50.
💠
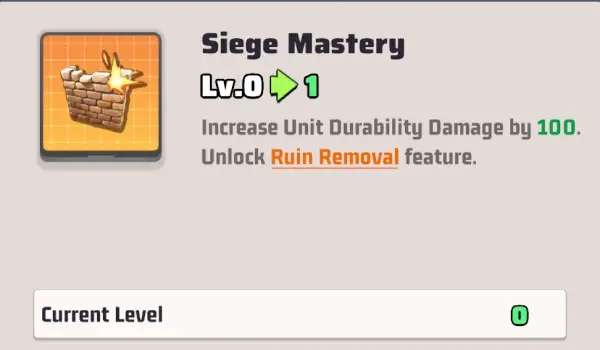
Siege Mastery
(🟡 Useful,
🛡️ Passive Effect,
Max lvl - 5)
Increases Unit Durability Damage by 100 per level. Useful for destroying enemies, but creates a disadvantage when farming resources from bases.
Level 10 Skills
💠
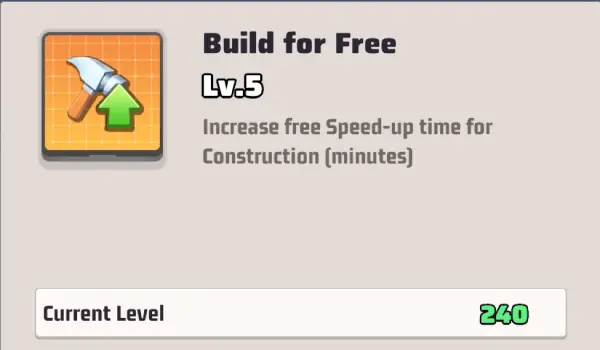
Build for Free
(🟢 Priority,
🛡️ Passive Effect,
Max lvl - 5)
Increases free Speed-up time for Construction. At max level, it provides 240 minutes. Especially useful at the start of the season and for mass upgrading small buildings.
💠
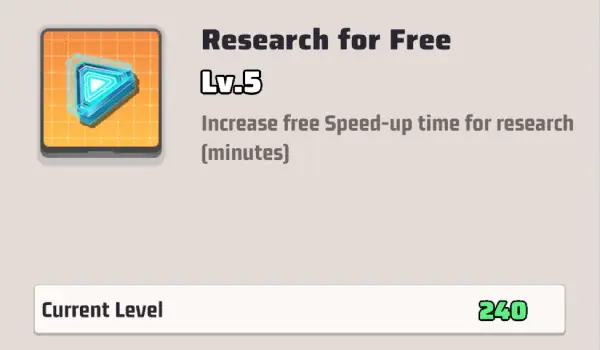
Research for Free
(🟢 Priority,
🛡️ Passive Effect,
Max lvl - 5)
Increases free Speed-up time for research. At max level, it provides 240 minutes.
Level 15 Skills
💠
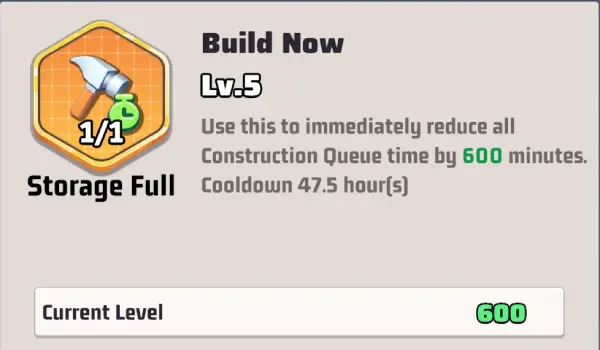
Build Now
(🟢 Priority,
⚡ Active Skill,
Max lvl - 5)
Reduces construction time for all queues by 600 minutes at max level. Cooldown: 47.5h.
💠
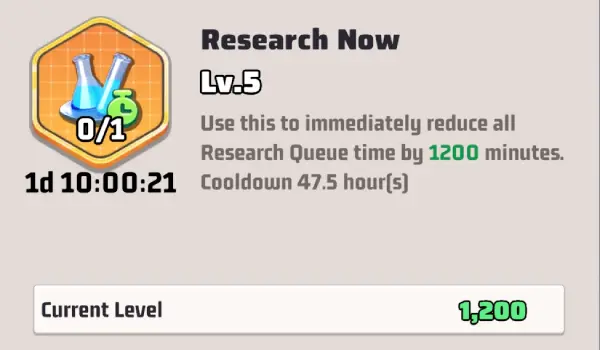
Research Now
(🟢 Priority,
⚡ Active Skill,
Max lvl - 5)
Reduces research time for all queues by 1200 minutes at max level. Cooldown: 47.5h.
Level 20 Skills
💠
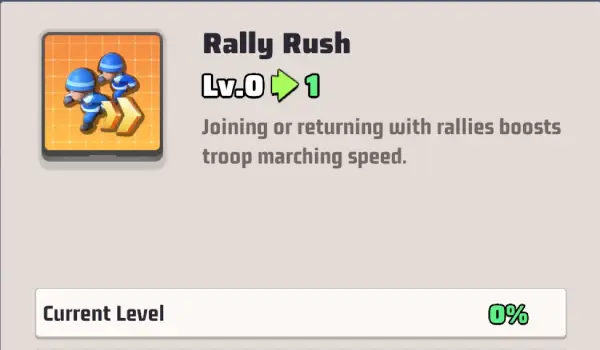
Rally Rush
(🔴 Niche,
🛡️ Passive Effect,
Max lvl - 5)
Increases troop marching speed when joining rallies or returning from them.
💠
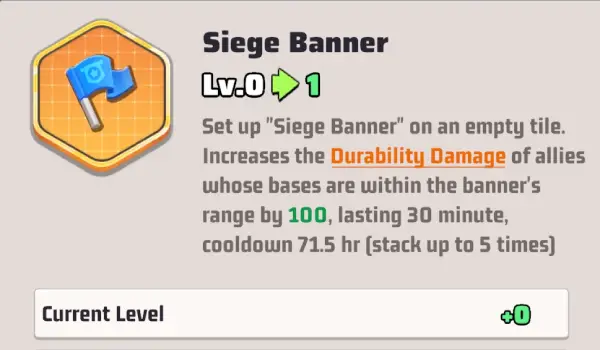
Siege Banner
(🟡 Useful,
⚡ Active Skill,
Max lvl - 1)
Increases Durability Damage of allies within the banner's range. Duration: 30 minutes. Cooldown: 71.5h.
Level 25 Skills
💠
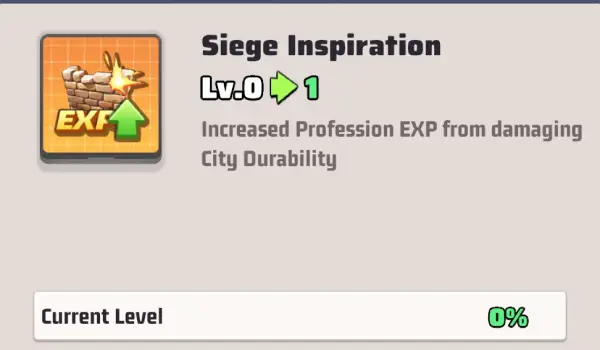
Siege Inspiration
(🟡 Useful,
🛡️ Passive Effect,
Max lvl - 3)
Increases Profession EXP obtained from damaging City Durability. Active only during the season.
💠
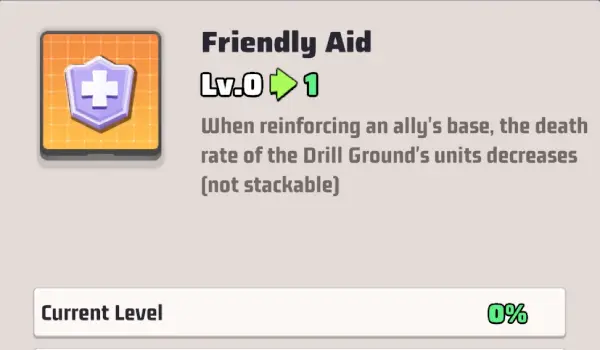
Friendly Aid
(🔴 Secondary,
🛡️ Passive Effect,
Max lvl - 5)
Reduces the death rate of troops when reinforcing an ally's base. This situation occurs rarely, so spending Skill Points on this is not recommended.
Level 30 Skills
💠
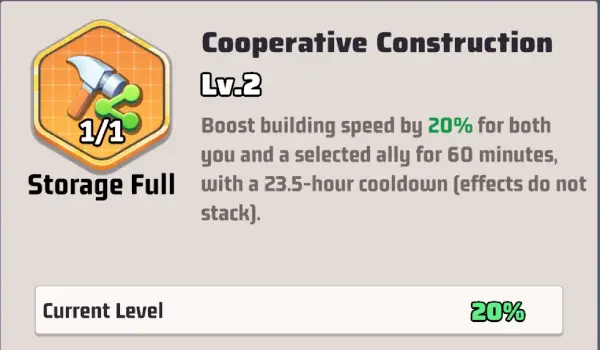
Cooperative Construction
(🟢 Priority,
⚡ Active Skill,
Max lvl - 2)
Increases building speed for both you and a selected ally for 60 minutes. At max level, the bonus is +20%. Cooldown: 23.5h.
💠
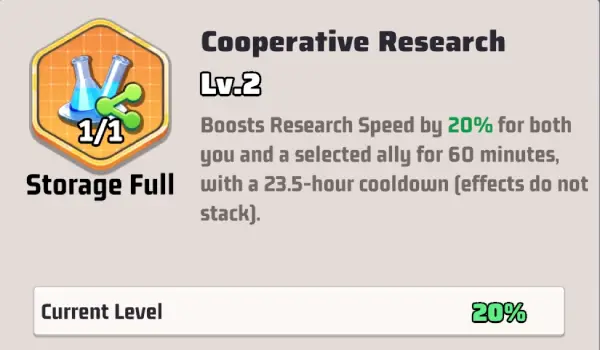
Cooperative Research
(🟢 Priority,
⚡ Active Skill,
Max lvl - 2)
Increases Research Speed for both you and a selected ally for 60 minutes. At max level, the bonus is +20%. Cooldown: 23.5h.
Level 35 Skills
💠
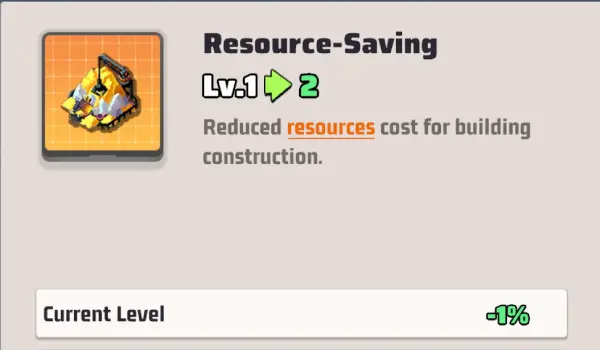
Resource-Saving
(🟢 Priority,
🛡️ Passive Effect,
Max lvl - 5)
Reduces resources cost for building construction. At max level, it provides a 5% discount. Significantly saves resources in the late game.
💠
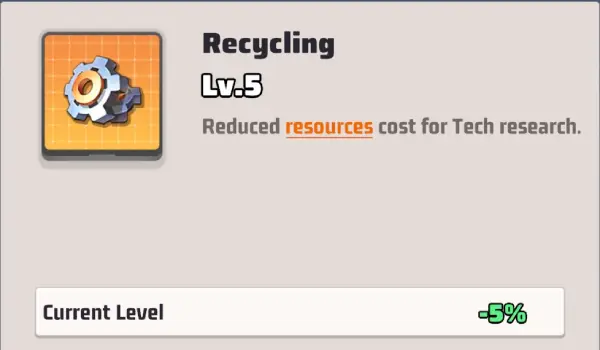
Recycling
(🟢 Priority,
🛡️ Passive Effect,
Max lvl - 5)
Reduces resources cost for Tech research. At max level, it provides a 5% discount. Significantly saves Coin during expensive research.
Level 40 Skills
💠
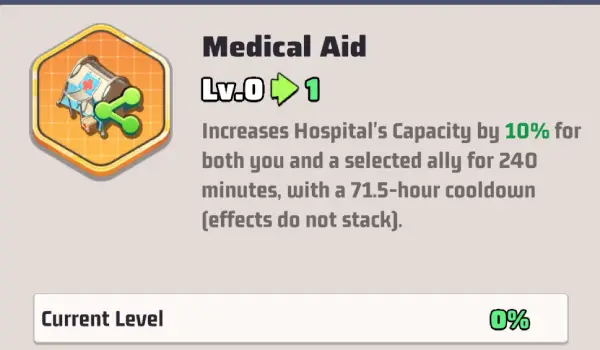
Medical Aid
(🟡 Useful,
⚡ Active Skill,
Max lvl - 5)
Increases Hospital's Capacity for both you and a selected ally for 240 minutes. Cooldown: 71.5h. Useful in large battles.
💠
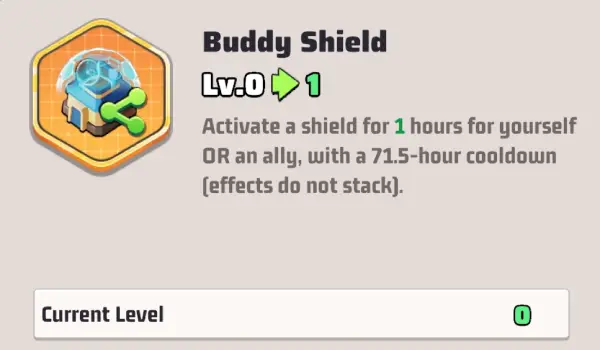
Buddy Shield
(🟡 Useful,
⚡ Active Skill,
Max lvl - 3)
Activates a shield for 4 hours for yourself OR an ally. Cooldown: 71.5h. Useful in emergency situations. Effects do not stack.
Level 45 Skills (from Season 2)
💠
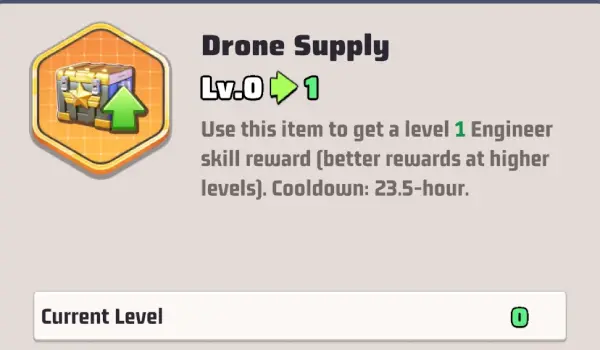
Drone Supply
(🟢 Priority,
⚡ Active Skill,
Max lvl - 5)
Provides resources for drone upgrades (Engineer skill rewards). Cooldown: 23.5h.
💠
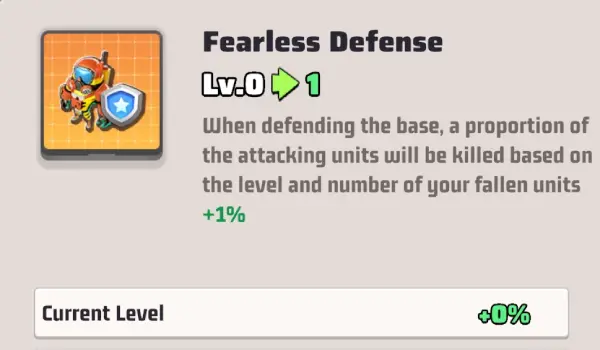
Fearless Defense
(🔴 Secondary,
🛡️ Passive Effect,
Max lvl - 5)
When defending the base, it kills a proportion of attacking units based on your own losses. This skill is rarely used.
Level 50 Skills
💠
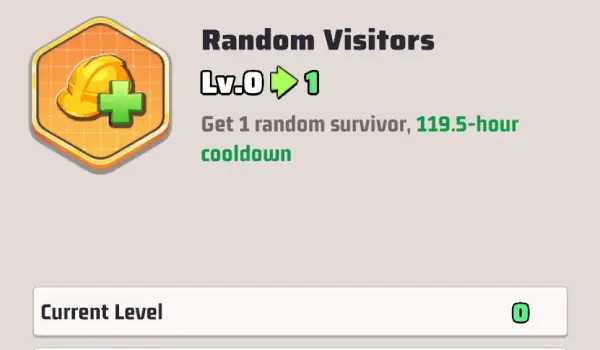
Random Visitors
(🔴 Niche,
⚡ Active Skill,
Max lvl - 5)
Summons a random survivor to the base. Cooldown: 119.5h. At this stage of the game, survivors are ineffective.
💠
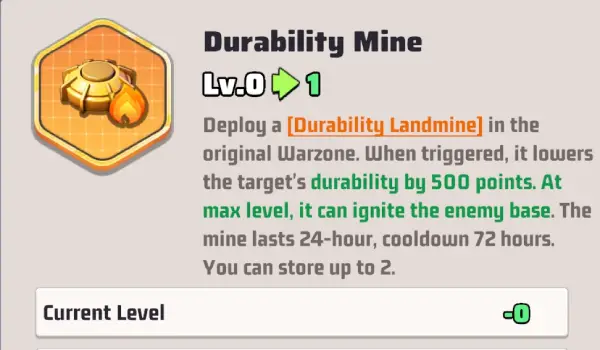
Durability Mine
(🔴 Secondary,
⚡ Active Skill,
Max lvl - 5)
Deploys a mine that lowers the target's durability and can ignite the base at max level. Cooldown: 72h.
War Leader
Level 1 Skills
💠
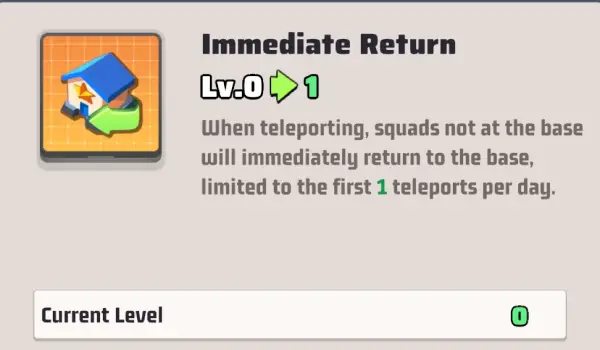
Immediate Return
(🔴 Niche,
🛡️ Passive Effect,
Max lvl - 5)
Instantly returns squads to the base when teleporting. Limited to the first teleport of the day.
💠
Unit Mobilization
(🟢 Priority,
⚡ Active Skill,
Max lvl - 5)
Immediately receives 250 highest-level units (not exceeding Drill Ground capacity). Cooldown: 23.5h.

Level 5 Skills
💠
Drill Ground Prep
(🟡 Useful,
🛡️ Passive Effect,
Max lvl - 5)
Increases Drill Ground capacity.
💠
Hospital Prep
(🟢 Priority,
🛡️ Passive Effect,
Max lvl - 5)
Increases Hospital capacity.
Level 10 Skills
💠
Craze
(🟡 Useful,
🛡️ Passive Effect,
Max lvl - 5)
Increases damage during War Fever state.
💠
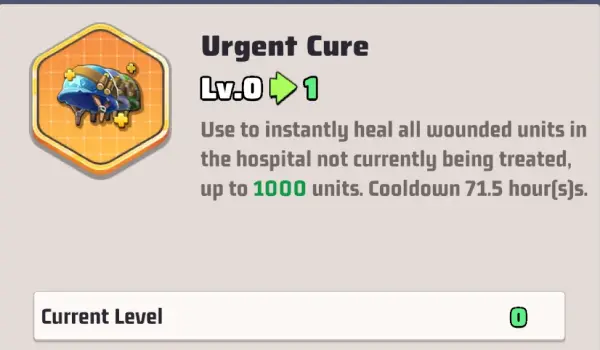
Urgent Cure
(🟡 Useful,
⚡ Active Skill,
Max lvl - 5)
Instantly heals up to 5,000 units in the hospital. Cooldown: 71.5h.
Level 15 Skills
💠
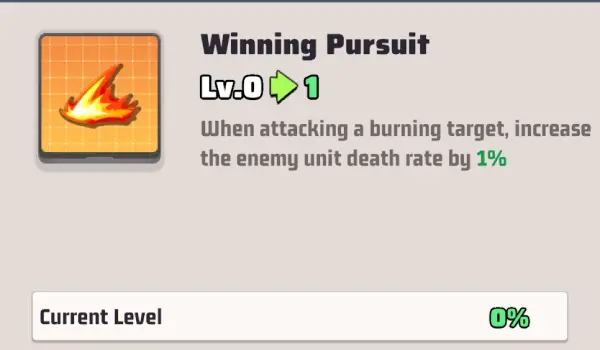
Winning Pursuit
(🟡 Useful,
🛡️ Passive Effect,
Max lvl - 5)
Increases enemy unit death rate when attacking a burning target by 1% per level.
💠
Intensive Training
(🟢 Priority,
🛡️ Passive Effect,
Max lvl - 5)
Increases the training speed of units.
Level 20 Skills
💠
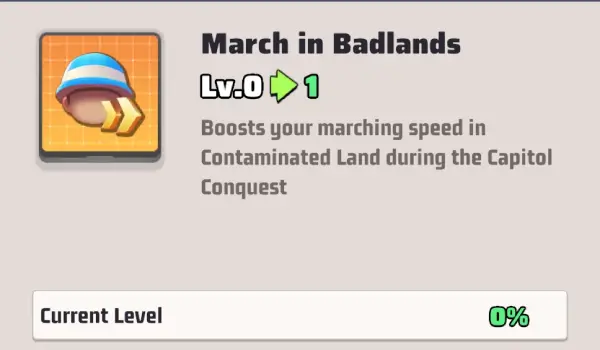
March in Badlands
(🟡 Useful,
🛡️ Passive Effect,
Max lvl - 2)
Increases marching speed in Contaminated Land during the Capitol Conquest.
💠
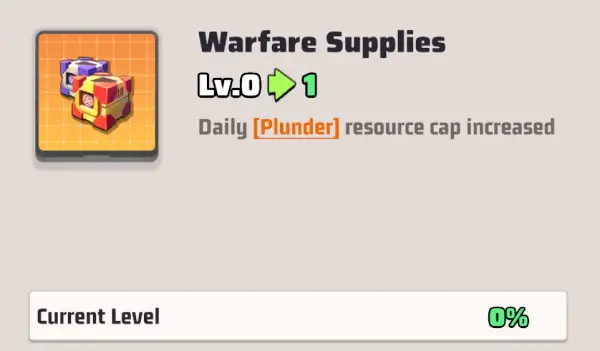
Warfare Supplies
(🟢 Priority,
🛡️ Passive Effect,
Max lvl - 5)
Daily Plunder resource cap increased.
Level 25 Skills
💠
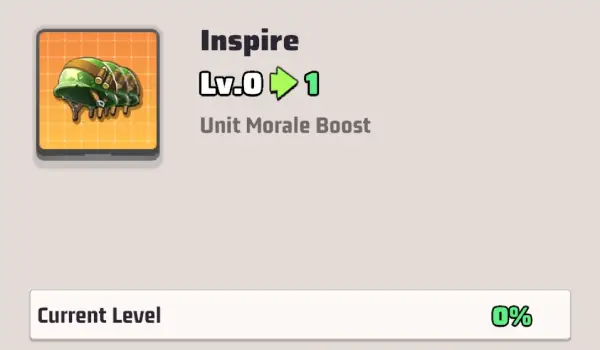
Inspire
(🟢 Priority,
🛡️ Passive Effect,
Max lvl - 5)
Boosts unit morale.
💠
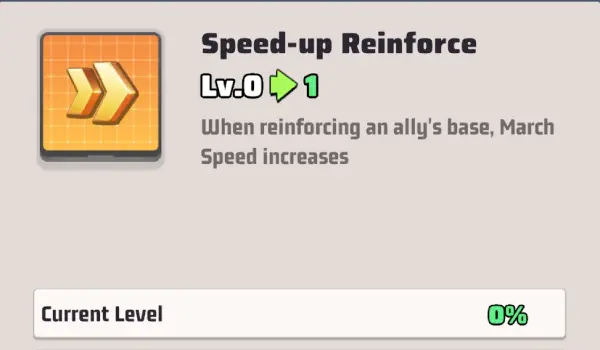
Speed-up Reinforce
(🔴 Secondary,
🛡️ Passive Effect,
Max lvl - 5)
Increases March Speed when reinforcing an ally's base.
Level 30 Skills
💠
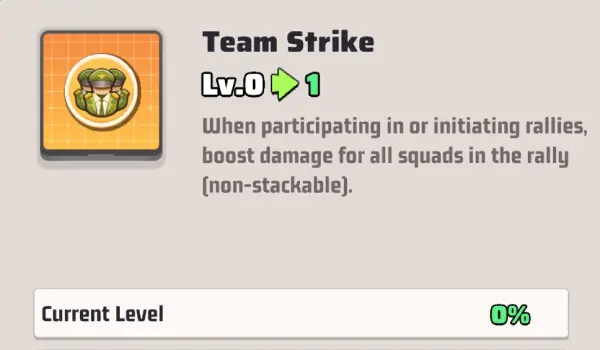
Team Strike
(🟢 Priority,
🛡️ Passive Effect,
Max lvl - 5)
When participating in or initiating rallies, boost damage for all squads in the rally (non-stackable).
💠
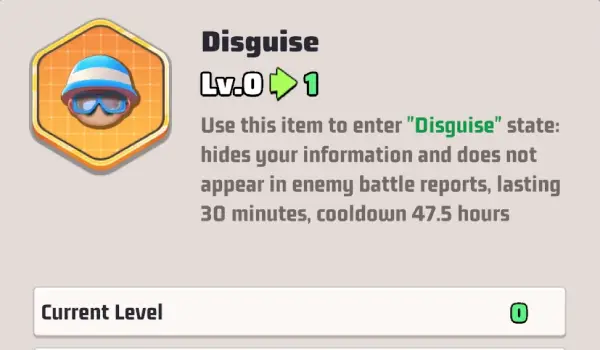
Disguise
(🔴 Secondary,
⚡ Active Skill,
Max lvl - 1)
Use this item to enter "Disguise" state: hides your information and does not appear in enemy battle reports, lasting 30 minutes, cooldown 47.5 hours.
Level 35 Skills
💠
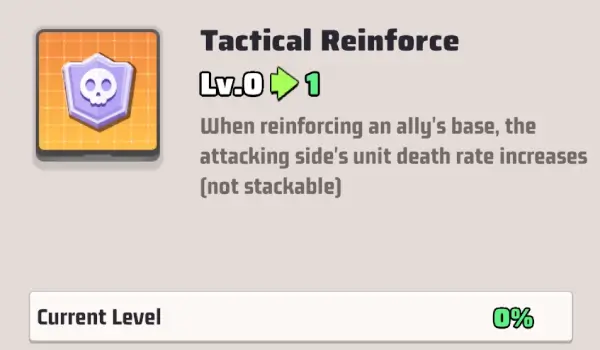
Tactical Reinforce
(🟡 Useful,
🛡️ Passive Effect,
Max lvl - 5)
When reinforcing an ally's base, the attacking side's unit death rate increases (not stackable).
💠
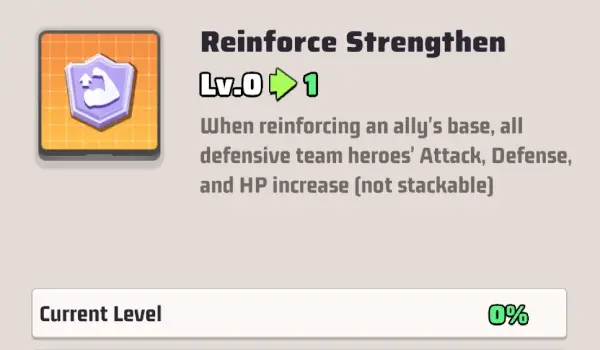
Reinforce Strengthen
(🟡 Useful,
🛡️ Passive Effect,
Max lvl - 5)
When reinforcing an ally's base, all defensive team heroes' Attack, Defense, and HP increase (not stackable).
Level 40 Skills
💠
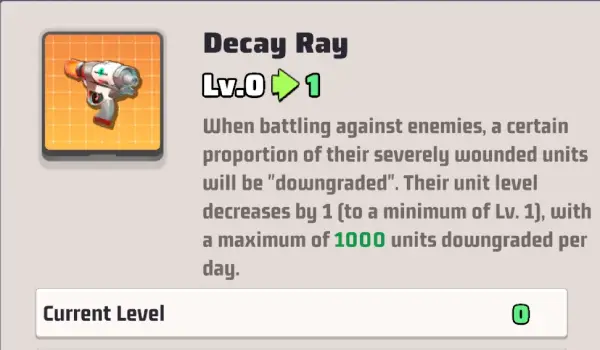
Decay Ray
(🟡 Useful,
🛡️ Passive Effect,
Max lvl - 1)
When battling against enemies, a certain proportion of their severely wounded units will be "downgraded". Their unit level decreases by 1 (to a minimum of Lv. 1), with a maximum of 1000 units downgraded per day.
💠
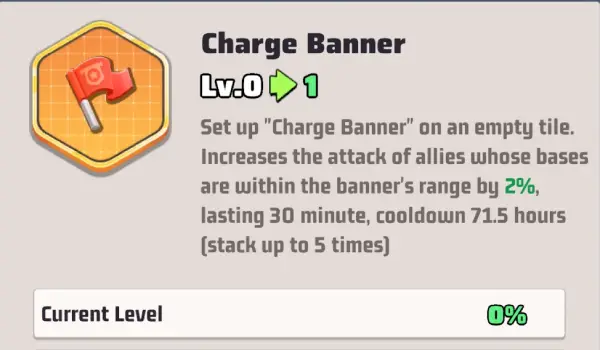
Charge Banner
(🟢 Priority,
⚡ Active Skill,
Max lvl - 1)
Set up "Charge Banner" on an empty tile. Increases the attack of allies whose bases are within the banner's range by 2%, lasting 30 minute, cooldown 71.5 hours (stack up to 5 times).
Level 45 Skills (from Season 2)
💠
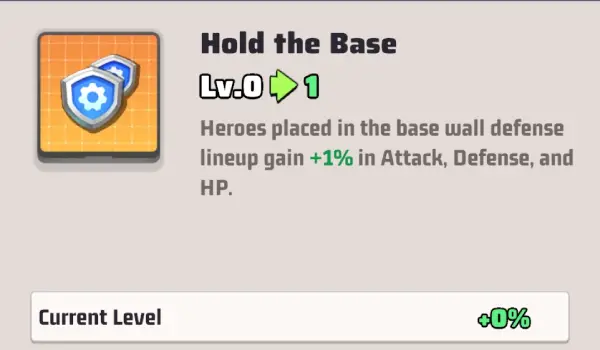
Hold the Base
(🟢 Priority,
🛡️ Passive Effect,
Max lvl - 5)
Heroes placed in the base wall defense lineup gain +1% in Attack, Defense, and HP.
💠
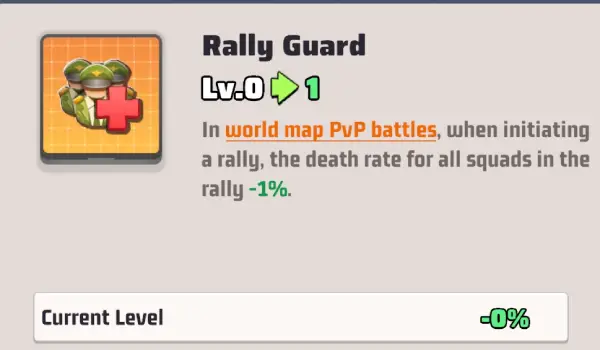
Rally Guard
(🟡 Useful,
🛡️ Passive Effect,
Max lvl - 5)
In world map PvP battles, when initiating a rally, the death rate for all squads in the rally -1%.
Level 50 Skills
💠
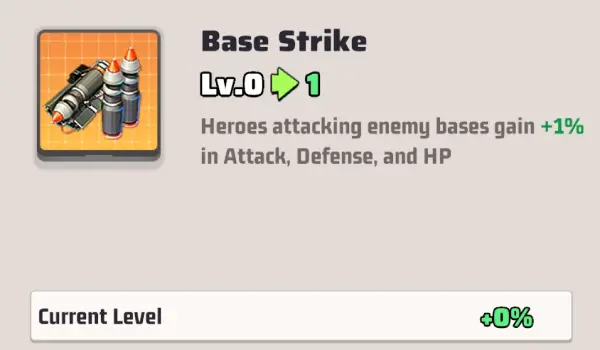
Base Strike
(🟢 Priority,
🛡️ Passive Effect,
Max lvl - 5)
Heroes attacking enemy bases gain +1% in Attack, Defense, and HP.
💠
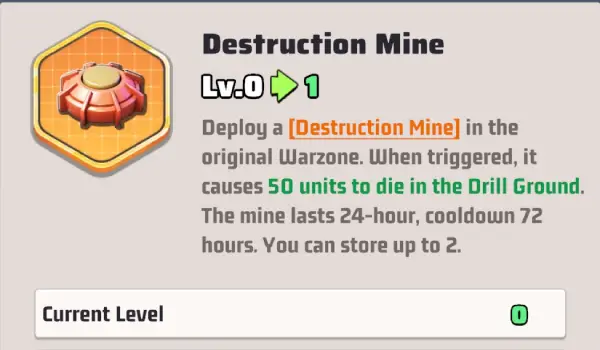
Destruction Mine
(🔴 Secondary,
⚡ Active Skill,
Max lvl - 5)
Deploy a Destruction Mine in the original Warzone. When triggered, it causes 50 units to die in the Drill Ground. The mine lasts 24-hour, cooldown 72 hours. You can store up to 2.
Helpful or not? Comment
Discuss
HQ Chat
Enjoyed the guide? Rate it or share your thoughts below. Here we discuss tactics, heroes, and game events.