

Everything About Professions
Last War Profession Skill Guide
Choosing a profession in Last War is a crucial decision that dictates your base progression speed and your army's combat power. The system unlocks in Season 1, but your chosen specialization and its buffs are permanent, remaining active even during the off-season.
In short: The Engineer is essential for rapid development and resource economy (perfect for the early game), while the War Leader turns your army into a dominating machine during massive PvP events.
In this guide, we will break down exactly how the Hall of Professions works, how to farm Profession EXP quickly, which skills to prioritize, and the perfect time to switch your profession.
📌 Table of Contents
How the Hall of Professions Works
The profession system unlocks in Season 1 (once your HQ reaches level 15). To access the talent trees, you need to construct a specific building — the Hall of Professions.
Currently, there are two active specializations available in the game:
- Engineer — focuses on the economy, base building, and tech research.
- War Leader — focuses on troop buffs, Hospital capacity, and damage output.
- Diplomat — the third profession. Its slot is already in the UI, but its skills are currently locked by the developers. We will update this guide as soon as it becomes available in the game.
It is important to understand that your choice is not permanent. The game features a class change mechanic, so you can always adapt to the current needs of your Alliance.
But who should you choose right now? Let's break down each profession in detail.

Who to Choose: Engineer or War Leader?
A common question among players is: which one is better? The answer depends on your progression level. If you are falling far behind the top players (even within your own Alliance, let alone the server), there is no point in picking the War Leader. It will give a slight boost to your power, but it won't help you bridge the massive gap in development. In this case, it's better to focus on the economy and catch up with the rest.
Engineer: The Base Progression Snowball
For 90% of players, the Engineer is the only right choice. This profession works on a snowball principle: every skill you invest in makes the next building upgrade slightly cheaper and faster.
Main advantages of the Engineer:
- Faster base building and tech research.
- Massive resource savings (which is critical at high HQ levels).
- Daily free bonuses: Speedups, resources, and +50% free Stamina.
- Co-op skills that allow you to buff your Alliance members.
If your ultimate goal is to unlock T10 troops as quickly as possible, the Engineer will help you get there the fastest.
War Leader: PvP Domination
The War Leader truly shines when you hold a leading role in your Alliance or on the server, and your army is already strong enough. However, during massive events, it makes sense for the majority of players to switch to this profession as well — this will globally boost the overall combat power of the Alliance. This is especially relevant when Season Buildings are fully upgraded, resource shortages ease up, and the game's focus shifts to wars, Capitol battles, and cross-server clashes.
Main advantages of the War Leader:
- Direct damage modifiers for Rallies and PvE combat.
- Faster troop training and increased Barracks capacity.
- Increased Hospital capacity (fewer troop losses in prolonged wars).
- Deadly defense: enemies suffer massive casualties when you reinforce allies.
If your Alliance is actively fighting and you regularly join Rallies, the War Leader will squeeze the maximum damage out of every single soldier you have.
To unlock the most powerful buffs of either profession, you will need Profession Skill Points. Let's break down where to get them.

How Leveling Works: EXP and Skill Points
It is important to clearly distinguish between two concepts: Profession EXP and Profession Skill Points.
EXP is required to level up your profession. For every new level, you receive 1 skill point, which can be invested into the talent tree. The maximum level (cap) depends on the current season:
- Season 1 — up to level 40.
- Season 2 — up to level 70.
- Season 3 and beyond — up to level 100.
Additional Skill Points: You are not limited by your level alone. The game features special items —  Profession Skill Points (season tokens, e.g., 1S, 2S). They can be obtained from the Battle Pass or purchased in the store. Important note: tokens from a specific season can still be used after it ends, but there is a strict limit — a maximum of 10 items of the same type.
How to Farm Profession EXP Quickly
EXP can only be earned during an active season. Here are all the available ways to get it:
- Upgrading Season Buildings (Top 1 method): The Virus Research Institute, Protein Farms, and other seasonal structures grant a massive amount of EXP. This is your main priority.
- EXP Books and Battle Pass: You can gain EXP from your inventory by using
 Profession EXP Books (event rewards), claiming Battle Pass levels, or buying special packs in the store.
 - Attacks on Military Bases (Rallies): If you launch a Rally against Corruptors and destroy multiple squads at once, the Rally leader gets a huge boost. You get about 500 EXP for each defeated squad (up to 25 squads per attack).
- Destroying Base Defenders: Killing one NPC defender squad yields over 800 EXP. However, be careful — this often provokes conflicts with other Alliances.
- City Durability Damage: The base reward is small, but if you upgrade skills that increase Durability damage, it will significantly boost the amount of EXP you receive.
- Farming Zombies and Doom Elites: A steady but slow source. Be sure to upgrade Seasonal Skills for bonus EXP from mobs to speed up the process.
The Secret Leveling Loop: Increase Virus Resistance ➔ Attack high-level mobs ➔ Get more seasonal resources ➔ Upgrade Season Buildings faster ➔ Gain even more Resistance and Profession EXP.
Skill Tree Structure
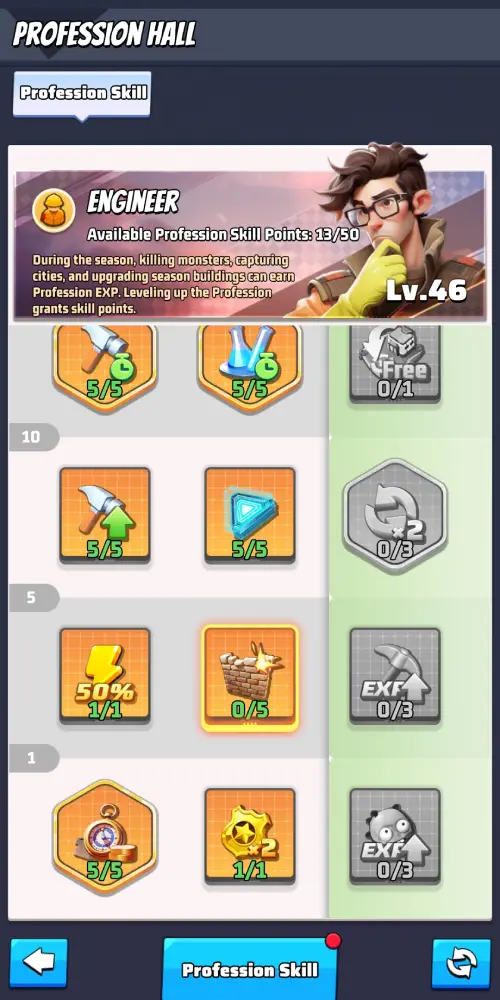
The skill tree interface is tied to your profession levels. Basic talents are available at level 1, and new ones unlock every 5 levels (at 5, 10, 15, and so on). Even at the maximum level, you won't be able to unlock everything, so you need to allocate your points wisely.
At each level milestone, you are offered three skill cards:
- Two Core Profession Skills: These are unique talents for your specialization (economy for the Engineer or combat buffs for the War Leader).
- One Seasonal Skill: Highlighted separately. These skills are exactly the same for both professions.
Important Rule for Seasonal Skills: At the end of the season, all points invested in the seasonal branch are automatically reset and refunded to you. Don't be afraid to invest them! The highest priority seasonal talents are those that grant bonus EXP for combat and building, as they speed up your overall progression.
Skill Reset: If you made a mistake allocating points within your profession, use a  Profession Skill Reset Book. It completely resets the tree and refunds all spent points.
Changing Professions: If you realize you picked the wrong specialization or your Alliance urgently needs a combat buff, use a  Profession Change Certificate. Let's break down the class change mechanic in more detail.
When to Change Professions and Major Beginner Mistakes
To change your specialization, you need a Profession Change Certificate. This is a rare item that can be obtained from season rewards, the Battle Pass, or purchased in the store. Don't waste it! Plan for a maximum of one smart transition per season.
The Perfect Time to Switch to War Leader
- Mid to late season.
- Your Season Buildings are upgraded to the maximum.
- You are not facing a severe resource shortage.
- Your Alliance is preparing for a major war (SvS, Capitol battle, faction duels).
- You have assembled strong squads (Tank / Aircraft / Missile) with good gear and UR heroes.
When It's Better to Stay an Engineer
- Your HQ is below level 30. Building speed is currently more important than combat stats.
- Your Alliance plays peacefully and does not participate in cross-server wars. The War Leader buffs will simply go to waste.
- You are a Free-to-Play (F2P) player. The resource savings from the Engineer will help you keep up with spenders.
Common Mistakes That Kill Your Progression
To avoid slowing down your account's development, steer clear of these popular mistakes:
- Starting as a War Leader. You will lose months of accelerated development and millions of saved resources that the Engineer would have provided. In the early stages, you don't have the troops to capitalize on combat buffs anyway.
- Ignoring the seasonal branch. Many players argue over who is better — the Engineer or the War Leader — forgetting that a huge portion of power lies in Seasonal Skills. Always max them out.
- Changing professions for a single event. Certificates are in short supply. You should only switch to a combat class when your Alliance begins a prolonged, coordinated war. A lone War Leader in a peaceful Alliance is just a slow Engineer.
- Buying skills without a plan. Don't grab every newly unlocked skill. Study the tree ahead of time and save your points for priority talents (for example, instant free building).
Now that you know the global development strategy, let's move on to a detailed breakdown of each skill. Below is a complete talent reference guide for both professions.
Skill Reference Guide: Types and Upgrade Priorities
Before diving into a detailed breakdown of each talent, it is important to understand their core mechanics. Skills in the Hall of Professions are divided into two types:
- ⚡ Active — requires manual activation and has a cooldown.
- 🛡️ Passive — works constantly without player intervention.
Most skills can be upgraded. Some are capped at level 1, while others can be leveled up to 5. Each level increase boosts the talent's base effect or reduces the cooldown of an active skill.
Skill Point Deficit and Priorities
As mentioned earlier, even at the maximum profession level, you won't be able to unlock the entire skill tree. You simply won't have enough points. Therefore, when compiling this reference guide, we categorized all talents into three tiers:
- 🟢 Core — a fundamental skill. We highly recommend maxing these out first.
- 🟡 Option — a useful talent that shines in specific scenarios or events. Upgrade as needed.
- 🔴 Reserve — a niche skill. Upgrade it last if you have spare points, or simply skip it entirely.
⚠️ Note: our ratings are not strict rules, but rather guidelines based on the experience of top players. The final choice always depends on your playstyle and your Alliance's current goals.
Engineer Skills
Level 1
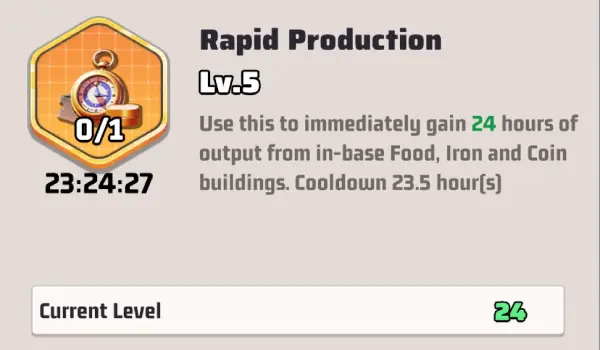
🔸 Rapid Production
Level: 5
Instantly collects 24 hours of resource production. Cooldown: 23.5h. At max level, it provides over 15M Food and Iron, as well as 10M Coin.
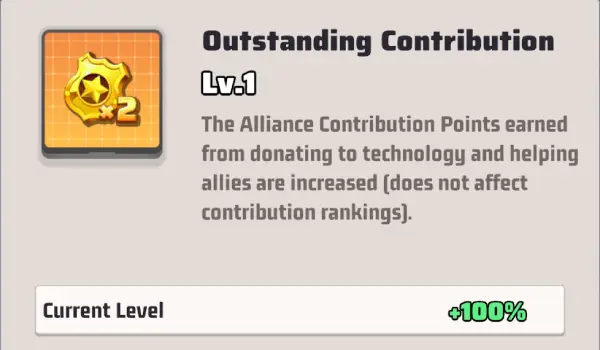
🔸 Outstanding Contribution
Level: 1
Increases Alliance Contribution Points earned from donating to alliance technology. This is the main currency used for purchases in the Alliance Store.
Level 5
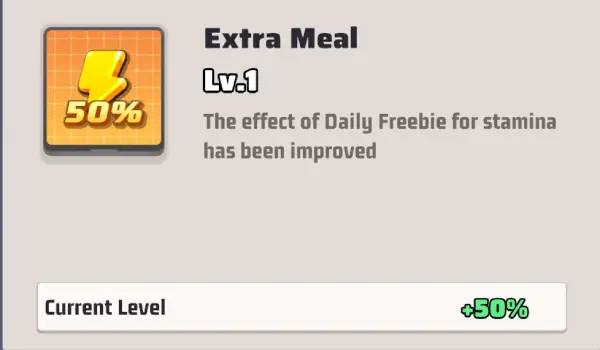
🔸 Extra Meal
Level: 1
Increases the effect of the Daily Freebie for stamina by 50%. This allows you to claim 2×75 stamina daily instead of the standard 2×50.
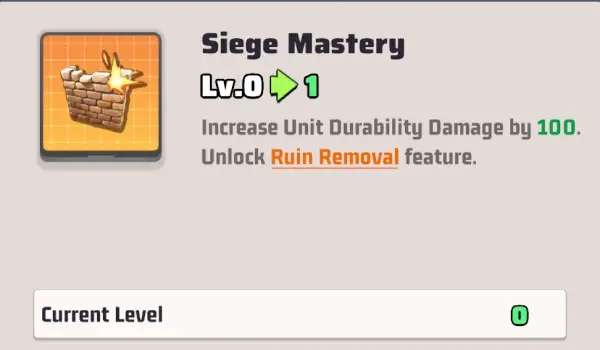
🔸 Siege Mastery
Level: 5
Increases Unit Durability Damage by 100 per level. Useful for destroying enemies, but creates a disadvantage when farming resources from bases.
Level 10
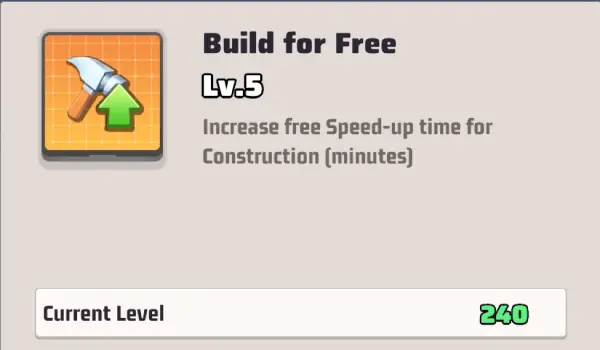
🔸 Build for Free
Level: 5
Increases free Speed-up time for Construction. At max level, it provides 240 minutes. Especially useful at the start of the season and for mass upgrading small buildings.
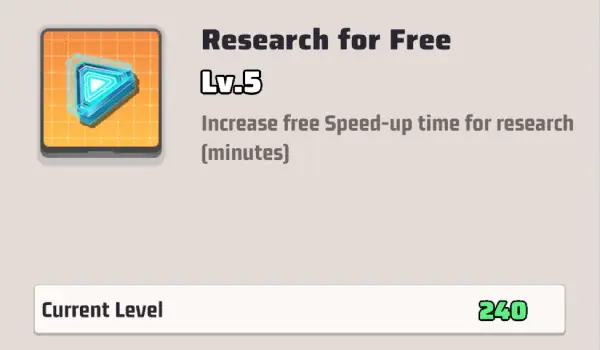
🔸 Research for Free
Level: 5
Increases free Speed-up time for research. At max level, it provides 240 minutes.
Level 15
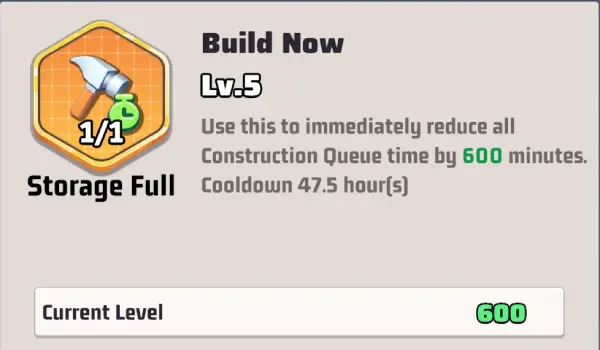
🔸 Build Now
Level: 5
Reduces construction time for all queues by 600 minutes at max level. Cooldown: 47.5h.
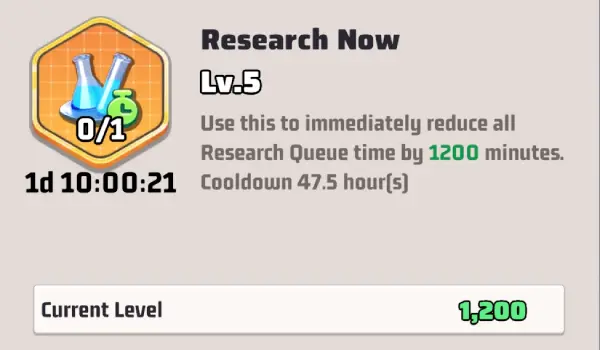
🔸 Research Now
Level: 5
Reduces research time for all queues by 1200 minutes at max level. Cooldown: 47.5h.
Level 20
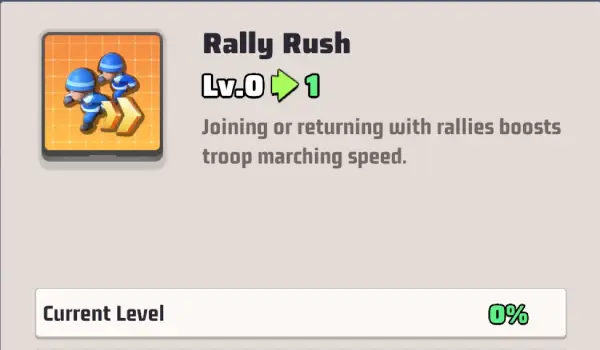
🔸 Rally Rush
Level: 5
Increases troop marching speed when joining rallies or returning from them.
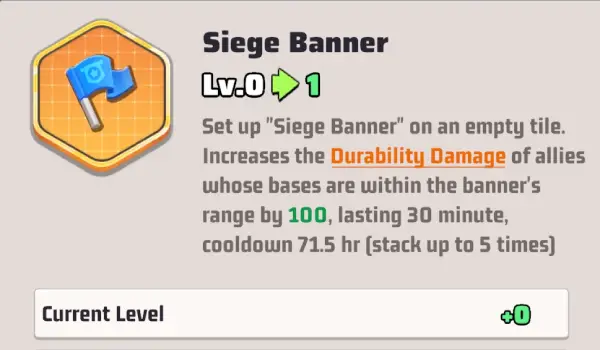
🔸 Siege Banner
Level: 1
Increases Durability Damage of allies within the banner's range. Duration: 30 minutes. Cooldown: 71.5h.
Level 25
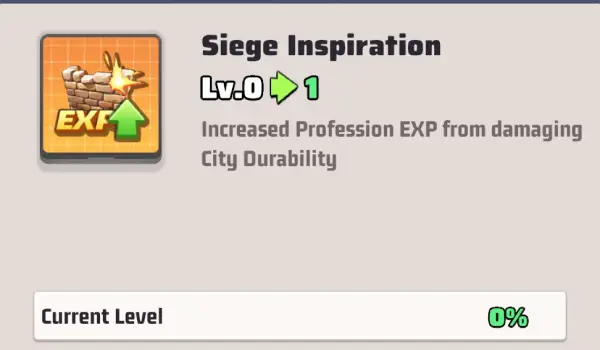
🔸 Siege Inspiration
Level: 3
Increases Profession EXP obtained from damaging City Durability. Active only during the season.
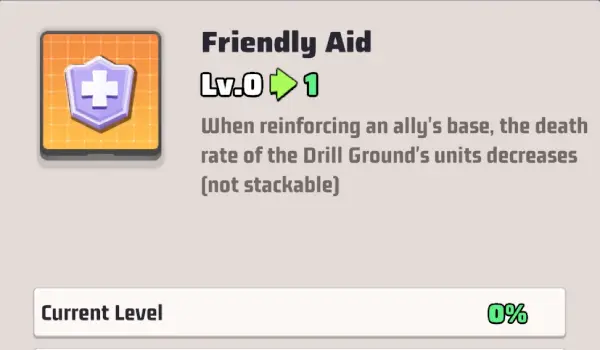
🔸 Friendly Aid
Level: 5
Reduces the death rate of troops when reinforcing an ally's base. This situation occurs rarely, so spending Skill Points on this is not recommended.
Level 30
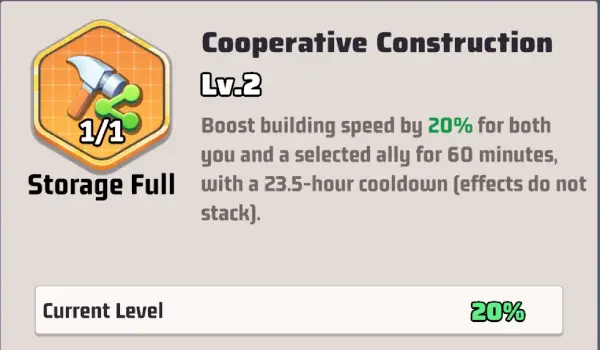
🔸 Cooperative Construction
Level: 2
Increases building speed for both you and a selected ally for 60 minutes. At max level, the bonus is +20%. Cooldown: 23.5h.
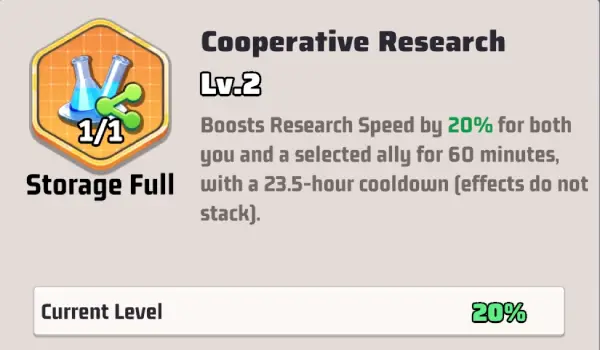
🔸 Cooperative Research
Level: 2
Increases Research Speed for both you and a selected ally for 60 minutes. At max level, the bonus is +20%. Cooldown: 23.5h.
Level 35
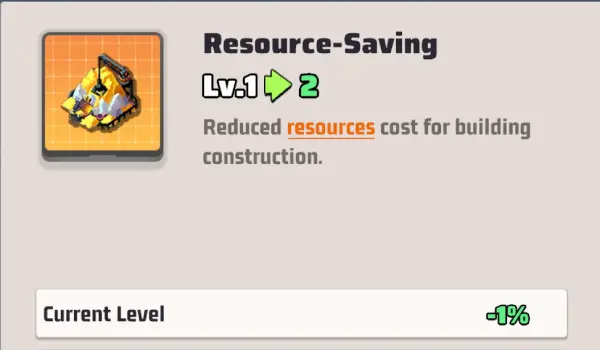
🔸 Resource-Saving
Level: 5
Reduces resources cost for building construction. At max level, it provides a 5% discount. Significantly saves resources in the late game.
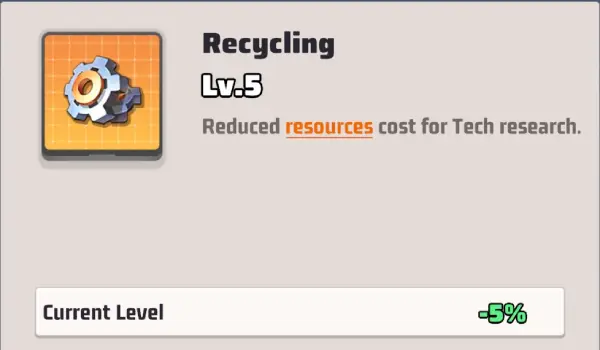
🔸 Recycling
Level: 5
Reduces resources cost for Tech research. At max level, it provides a 5% discount. Significantly saves Coin during expensive research.
Level 40 Skills
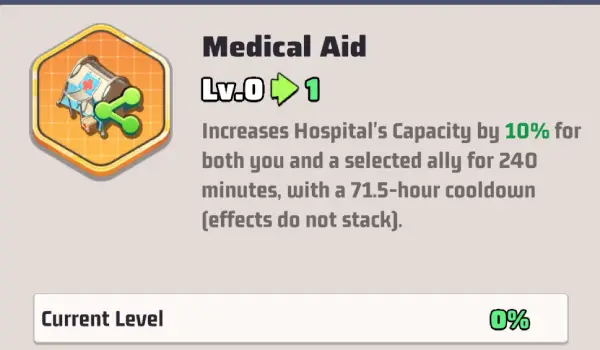
🔸 Medical Aid
Level: 5
Increases Hospital's Capacity for both you and a selected ally for 240 minutes. Cooldown: 71.5h. Useful in large battles.
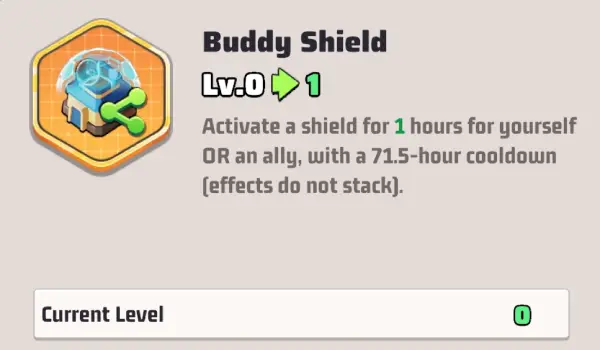
🔸 Buddy Shield
Level: 3
Activates a shield for 4 hours for yourself OR an ally. Cooldown: 71.5h. Useful in emergency situations. Effects do not stack.
Level 45 (from Season 2)
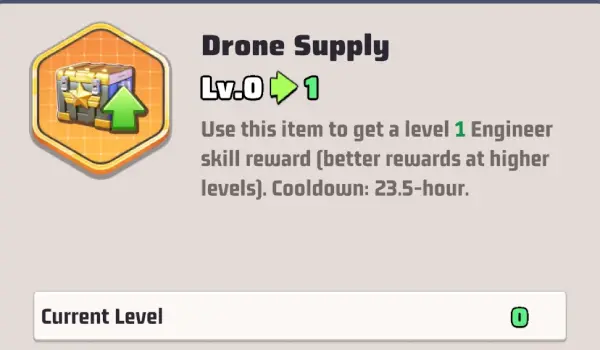
🔸 Drone Supply
Level: 5
Provides resources for drone upgrades (Engineer skill rewards). Cooldown: 23.5h.
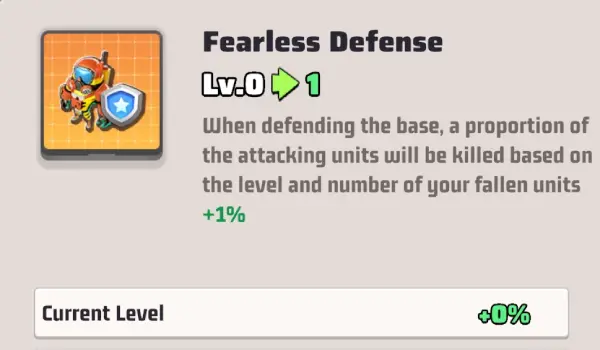
🔸 Fearless Defense
Level: 5
When defending the base, it kills a proportion of attacking units based on your own losses. This skill is rarely used.
Level 50
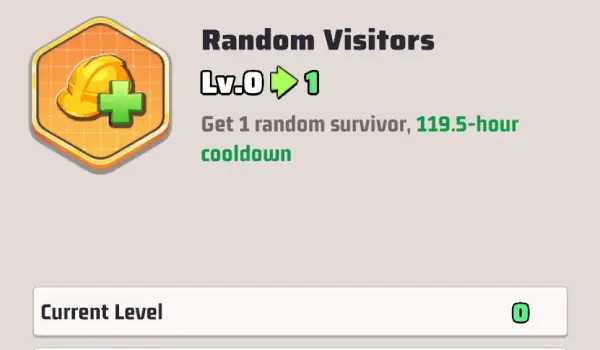
🔸 Random Visitors
Level: 5
Summons a random survivor to the base. Cooldown: 119.5h. At this stage of the game, survivors are ineffective.
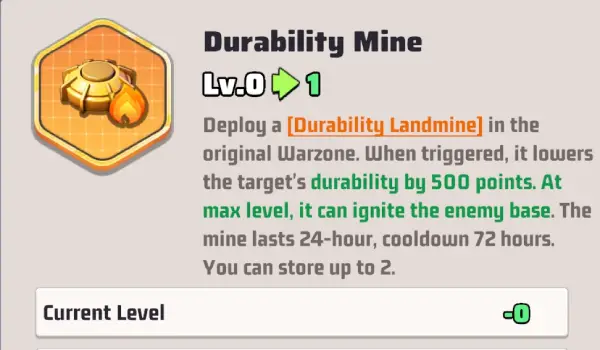
🔸 Durability Mine
Level: 5
Deploys a mine that lowers the target's durability and can ignite the base at max level. Cooldown: 72h.
Level 55
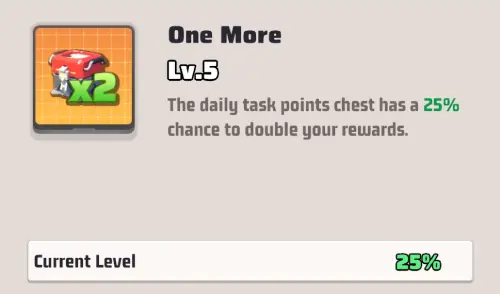
🔸 One More
Level: 5
The daily task points chest has a 25% chance to double your rewards. Worth using when special or seasonal resources appear in chests (e.g., in Season 2).
🔸 Support Boost
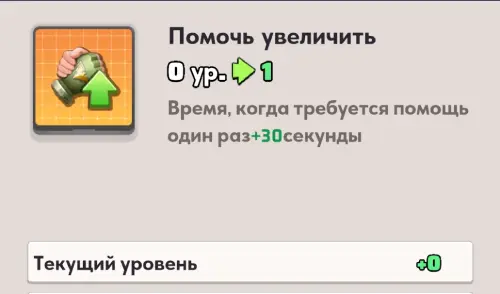
Level: 5
Time helped per action +30 seconds.
Level 60
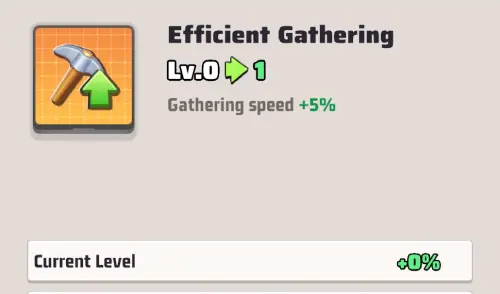
🔸 Efficient Gathering
Level: 3
Gathering speed +5%. Only useful for players who actively farm resource tiles on the map.
🔸 First Aid Expert
Level: 5
When defeated, the proportion entering the Emergency Center +1%. Allows you to save more troops from permanent death.
Level 65
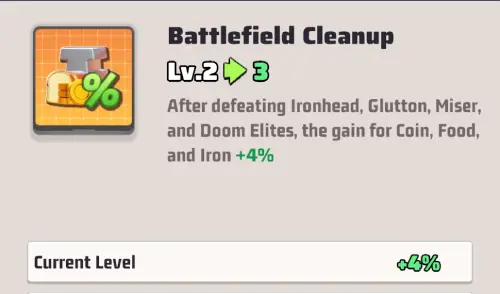
🔸 Battlefield Cleanup
Level: 5
After defeating Ironhead, Glutton, Miser, and Doom Elites, the gain for Coin, Food, and Iron +Х%.
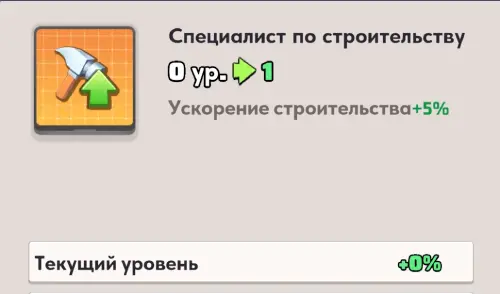
🔸 Master Builder
Level: 5
Building speed up +5%.
War Leader Skills
Level 1
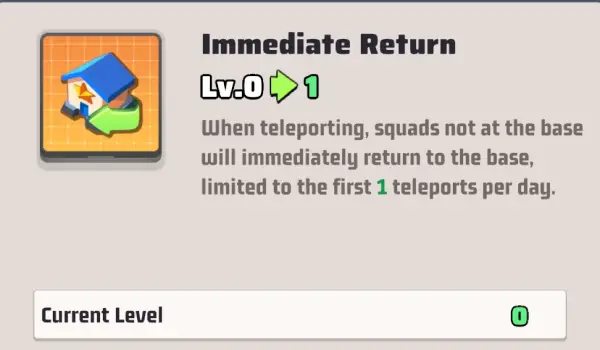
🔸 Immediate Return
Level: 5
Instantly returns squads to the base when teleporting. Limited to the first teleport of the day.
🔸 Unit Mobilization
Level: 5
Immediately receives 250 highest-level units (not exceeding Drill Ground capacity). Cooldown: 23.5h.

Level 5
🔸 Drill Ground Prep
Level: 5
Increases Drill Ground capacity.
🔸 Hospital Prep
Level: 5
Increases Hospital capacity.
Level 10
🔸 Craze
Level: 5
Increases damage during War Fever state.
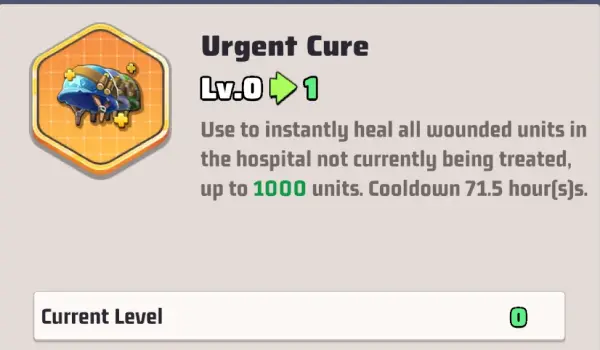
🔸 Urgent Cure
Level: 5
Instantly heals up to 5,000 units in the hospital. Cooldown: 71.5h.
Level 15
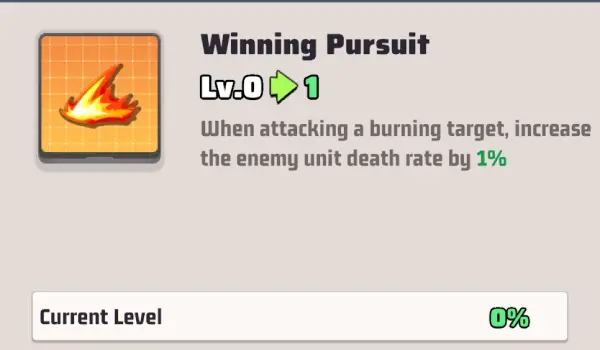
🔸 Winning Pursuit
Level: 5
Increases enemy unit death rate when attacking a burning target by 1% per level.
🔸 Intensive Training
Level: 5
Increases the training speed of units.
Level 20
🔸 March in Badlands
Level: 2
Increases marching speed in Contaminated Land during the Capitol Conquest.
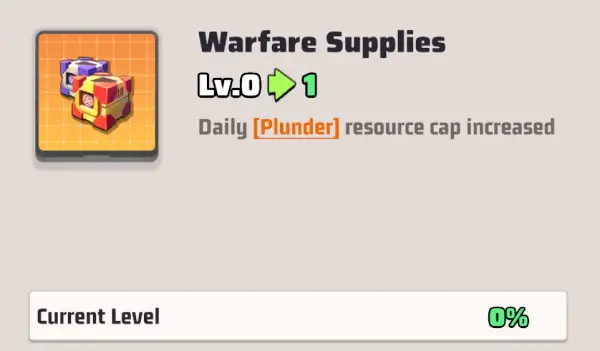
🔸 Warfare Supplies
Level: 5
Daily Plunder resource cap increased.
Level 25
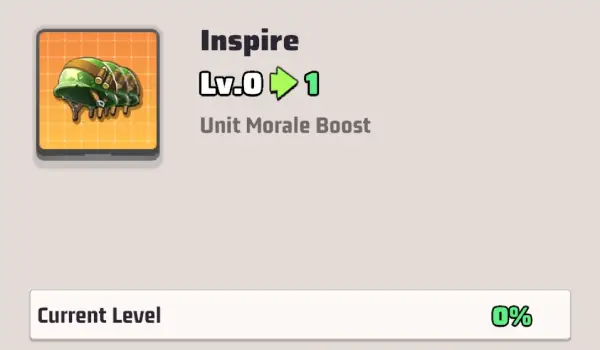
🔸 Inspire
Level: 5
Boosts unit morale.
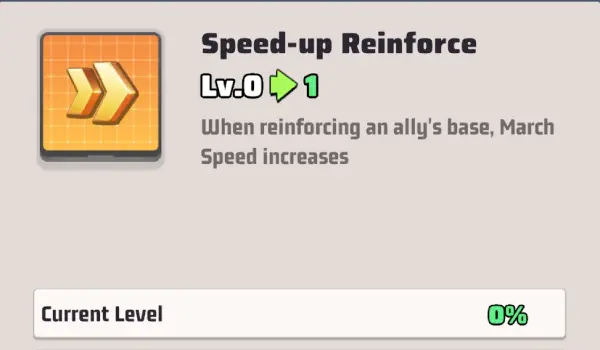
🔸 Speed-up Reinforce
Level: 5
Increases March Speed when reinforcing an ally's base.
Level 30
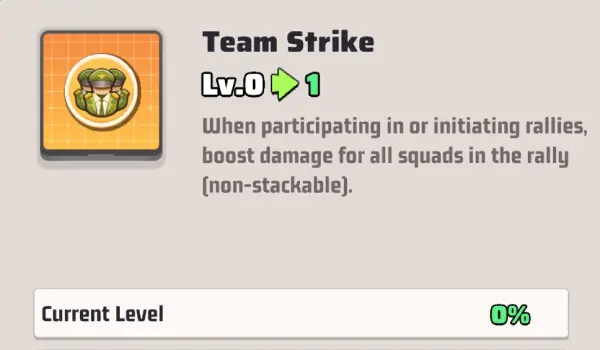
🔸 Team Strike
Level: 5
When participating in or initiating rallies, boost damage for all squads in the rally (non-stackable).
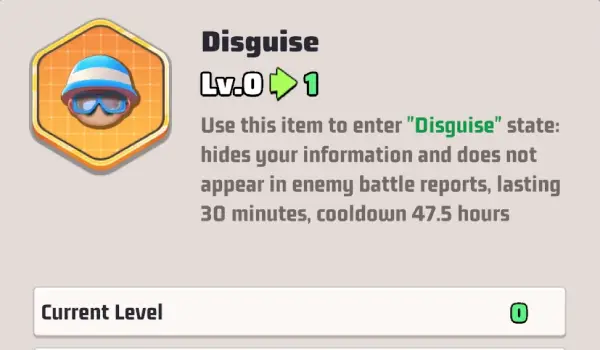
🔸 Disguise
Level: 1
Use this item to enter "Disguise" state: hides your information and does not appear in enemy battle reports, lasting 30 minutes, cooldown 47.5 hours.
Level 35
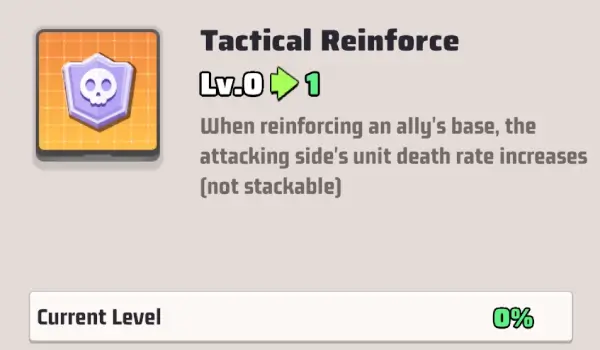
🔸 Tactical Reinforce
Level: 5
When reinforcing an ally's base, the attacking side's unit death rate increases (not stackable).
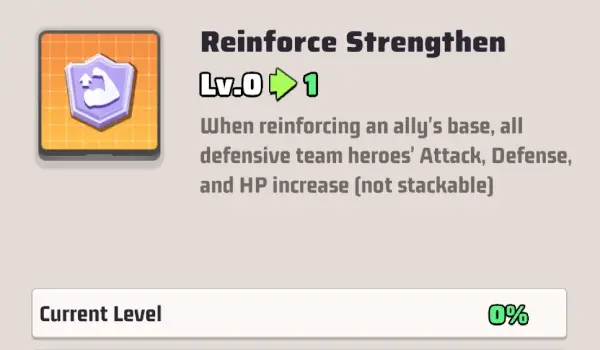
🔸 Reinforce Strengthen
Level: 5
When reinforcing an ally's base, all defensive team heroes' Attack, Defense, and HP increase (not stackable).
Level 40
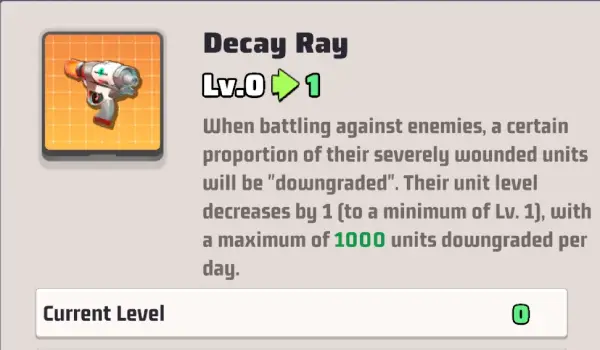
🔸 Decay Ray
Level: 1
When battling against enemies, a certain proportion of their severely wounded units will be "downgraded". Their unit level decreases by 1 (to a minimum of Lv. 1), with a maximum of 1000 units downgraded per day.
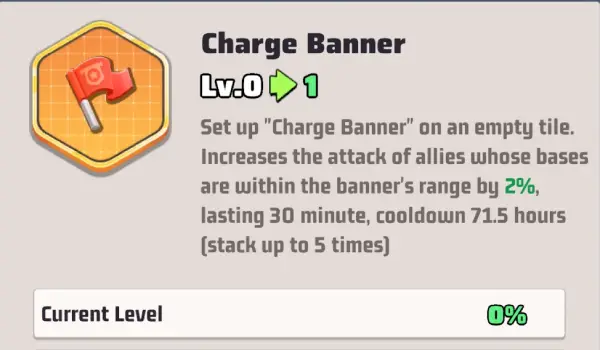
🔸 Charge Banner
Level: 1
Set up "Charge Banner" on an empty tile. Increases the attack of allies whose bases are within the banner's range by 2%, lasting 30 minute, cooldown 71.5 hours (stack up to 5 times).
Level 45 (from Season 2)
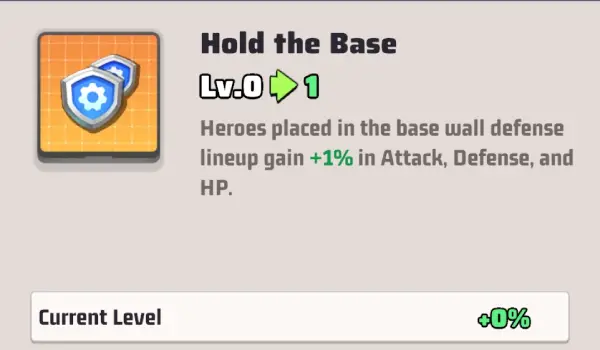
🔸 Hold the Base
Level: 5
Heroes placed in the base wall defense lineup gain +1% in Attack, Defense, and HP.
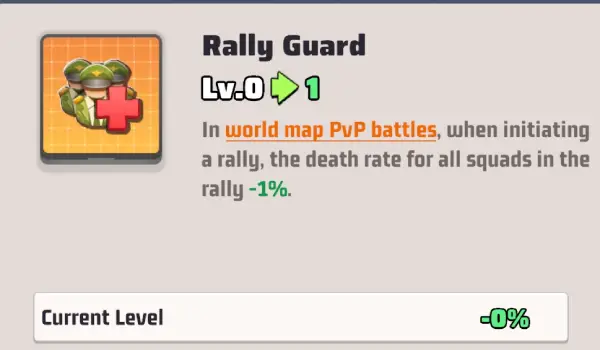
🔸 Rally Guard
Level: 5
In world map PvP battles, when initiating a rally, the death rate for all squads in the rally -1%.
Level 50
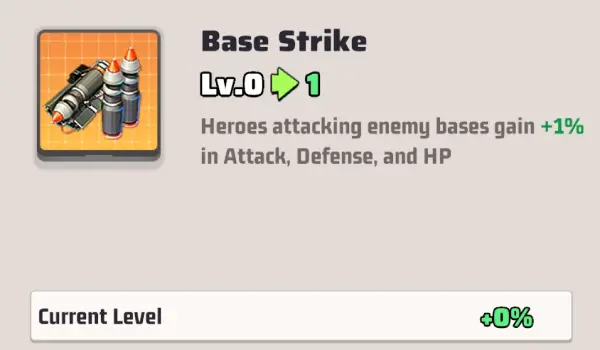
🔸 Base Strike
Level: 5
Heroes attacking enemy bases gain +1% in Attack, Defense, and HP.
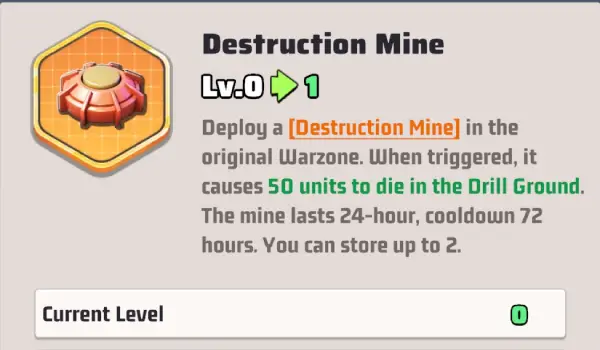
🔸 Destruction Mine
Level: 5
Deploy a Destruction Mine in the original Warzone. When triggered, it causes 50 units to die in the Drill Ground. The mine lasts 24-hour, cooldown 72 hours. You can store up to 2.
Helpful or not? Comment
Discuss
HQ Chat
Enjoyed the guide? Rate it or share your thoughts below. Here we discuss tactics, heroes, and game events.